the urban wheelbarrow

The urban wheelbarrow

So here we are here, back to the city, back to the highway noise and police sirens and curbside trash pickup. What do we do now? For starters, how about dig up a piece of the yard for the new garlic bed?
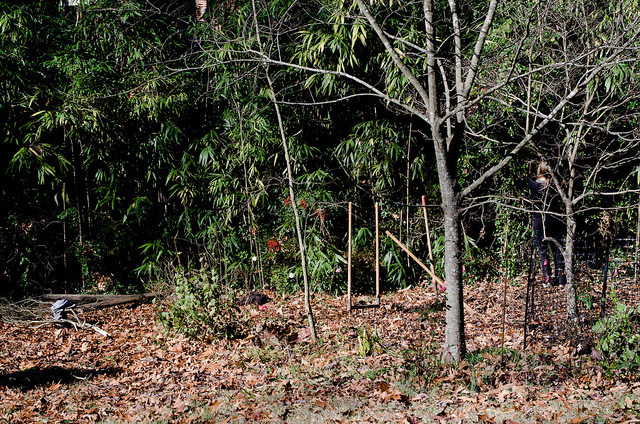
You might recall this year’s garlic harvest, back before the move to the city, and how much we were able to grow. We are still sitting on a mound of bulbs and giving it away by the bag full. Before giving any away we were careful to sort out several pounds of seed garlic.

We actually started the basis for the garlic bed a few months ago, putting the full force of seven chickens to work and getting the grass nibbled down and depositing a nice layer of manure. Add to that a nice layer of leaves to keep the soil moist for digging, measure and mark the bed, and we are ready for the heavy lifting.
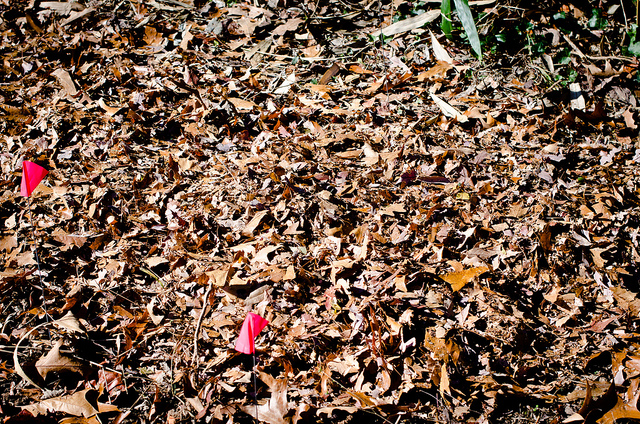
The bed prep was pretty standard – broadfork the row, put down a layer of leaves and compost, add a sprinkle of worm castings then dig out the pathways. The soil from the pathways gets thrown up on top of the leaf layer.
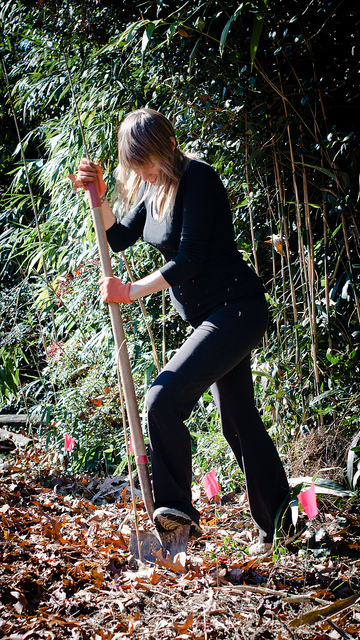
That soil is chopped up finely with the leaves and the compost and the worm castings. Rake that out flat, add another layer of leaves and you are ready to plant.

We are fortunate to have an abundance of leaves. When I saw people raking up their leaves in the neighborhood, I sent a message to the neighborhood asking for their leaves. I set up a corral by our driveway so folks could just bring over their bags and bins and such and just dump everything into a big pile.
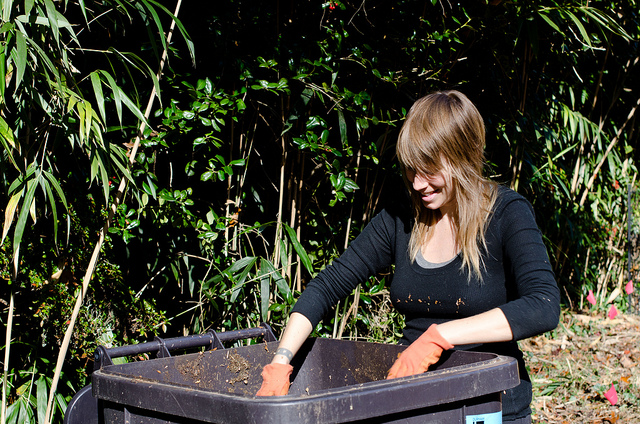
But let me back up a second… When we moved here, there were three giant waste receptacles waiting for us. One blue for recycling, one green for trash and one brown for “yard waste”. We immediately knew that we would never set that last one out by the road just for the simple fact that our yard does not generate waste. We also knew that we would be out seeking other people’s yard waste bins and dumping the contents into our yard.
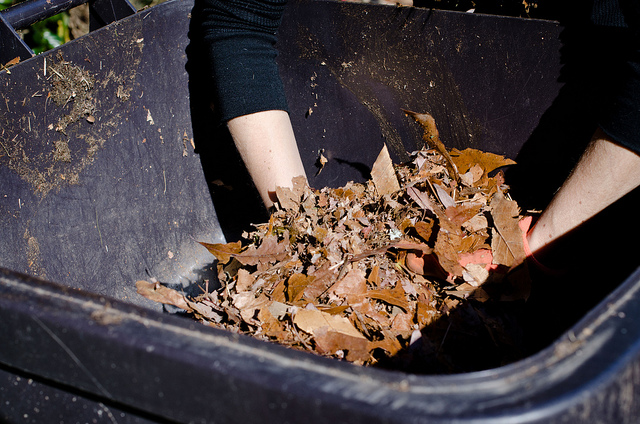
The concept is baffling – putting your leaves and sticks and grass clippings in this bin and having the city haul it away to who knows where. The only waste in this scenario is this bin and its associations. With all the front yard gardens in this neighborhood, surely we could keep at least some of our beautiful little nuggets of carbon snuggled within the same yards?

Well, we have this bin. May as well use it, right? It is a perfect little urban wheelbarrow (even though we already have a wheelbarrow). But this one is upright, has a lid, let’s you throw the leaves and grass together to get some nice heating up and breaking down going on before applying to garden beds as mulch.
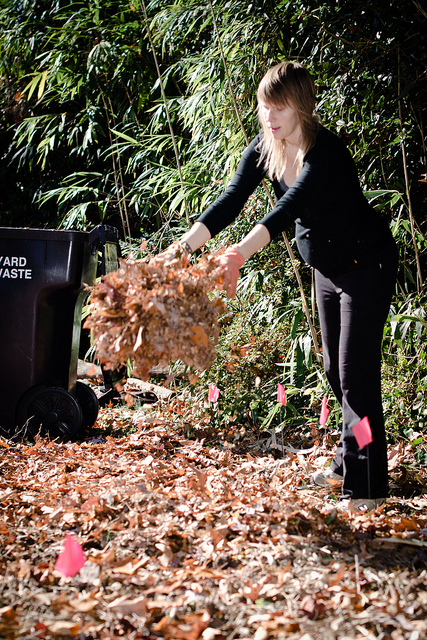
And you can store this mulch and basically let it compost until you need it again.

This entry was posted in Durham, food sources, house. Bookmark the permalink.

2 Responses to The urban wheelbarrow

  1. colleen says:

    Looks like y’all will be eatin’ bamboo shoots in the spring – watch out fer that stuff. make’s good screening though.

  2. K. is looking gorgeous! I must admit, I’m interested to here your urban ramblings since that’s where my space is. This one is close to my heart as I rage (in small ways) against why people have so much waste pretty regularly. Take care!

enough of that crap lets make biscuits

Enough of that crap; let’s make biscuits

One of the best things about moving to Durham has been living in a house with an awesome stove. It is a 1950s era General Electric push button electric with a double oven. I had never even seen a double oven before this one, and now I don’t think I will ever be able to give this one up.  It is quick to heat up and gets right down to business. So, what to make with it?

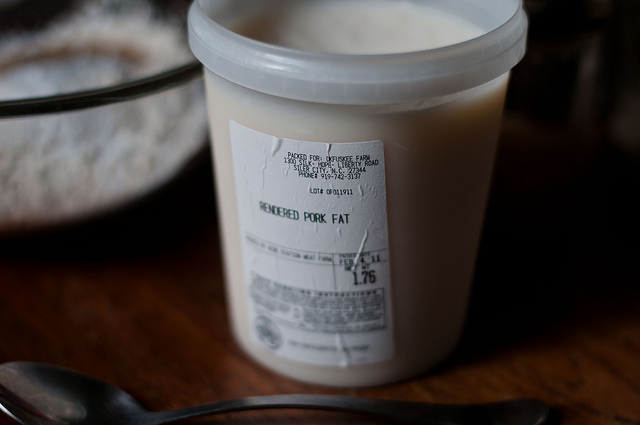
I happen to be the happy owner of about twenty five quarts of rendered pork lard. I threw last year’s lot of hog fat in with Bobby at Okfuskee Farm in order to get to the minimum amount that the slaughterhouse would render. As a result, the package label has Okfuskee Farm on it. No matter – it is all good stuff.

Surprisingly, I haven’t made biscuits in the past. Most of the recipes I found called for shortening, margarine or vegetable oil. I wasn’t sure if lard would bake any differently.

1. Add one half cup of lard to two cups of flour, one tablespoon of sugar, one teaspoon of salt and three teaspoons of baking powder.

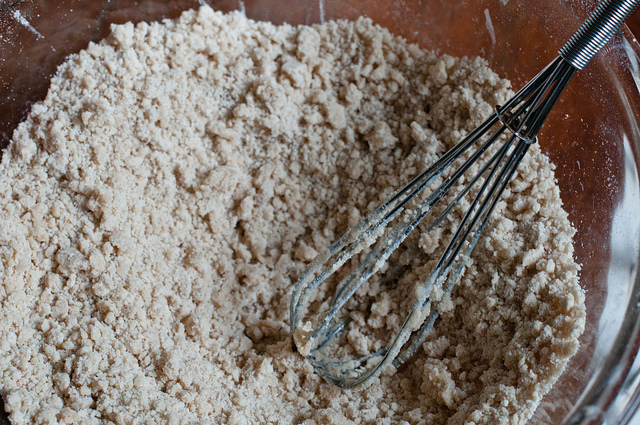
2. Mix the lard into the flour with a wire whisk until the dough gets crumbly.

3. Stir in 3/4 cup of milk and stir until the dough starts to stick together. But don’t stir too much!

4. Scoop the dough out onto a floured surface and knead lightly up to ten times.

5. Pat the dough down and roll out the a 1/2 inch thickness.

6. Cut the biscuit rounds with a floured metal measuring cup, an inverted glass or just make them with your hands.

7. Put the dough on an ungreased baking pan or cookie sheet.

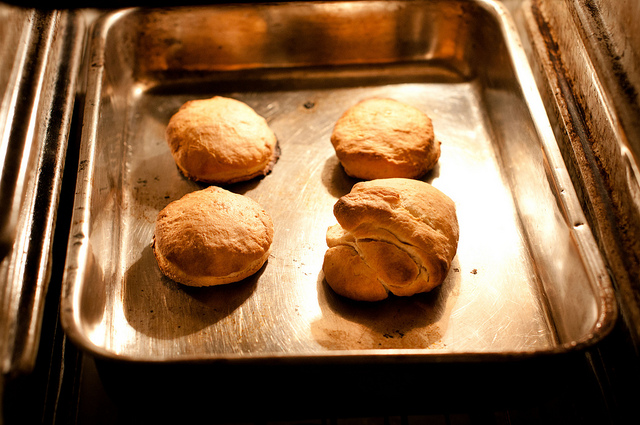
8. Bake for ten minutes at 450 degrees.

9. Tell Kristin that they are ready!

This entry was posted in food sources, house, recipes. Bookmark the permalink.

3 Responses to Enough of that crap; let’s make biscuits

  1. Marlow says:

    Oh boy. My extended family would very much approve!! One of my friends, Hanne, has a super old double oven by Frigidaire called ‘Flair’ it is by the coolest thing I have ever seen! The burners can be pulled out or pushed in flat with the wall.

  2. Anna says:

    Looks delicious. Made wild boar lard myself, it’s a snap to make– you should try it! You can’t beat lard in biscuits or pie crust.

  3. fLoreign says:

    They look virtually like my late grandma’s lard biscuits (especially the color is the same). I’m sure they even taste pretty close.

demolition

Demolition

After the flu knocked me down around New Year’s, I spent a bit of time knocking around in the old bathroom of the house.  I took out the fixtures, the drywall, some of the other crap. Kristin joined in a bit later, hauling out the salvageable framing or making trips to the dump. It was slow going for the next few weeks.

A work party in late January helped us remove the roofing from the back addition, which included the old bathroom. After that it was primarily a Kristin and Trace demolition team. Two and half months in – with help from Julia, Kathryn, Joe, Matthew and Ben and Kathleen – we have almost finished with that demolition.

From here it is on to site work, engineering plans, strawbale selection, milling cypress, outlining workshops and lining up volunteers and apprentices all while figuring out how to pay for it all.

Comments are closed.

do your dirty work

Do your dirty work

Progress on the house continues to move in the deconstruction phase. The roof is off of the two story, stacks of de-nailed wood grow larger and there is a sense that the demolition will take just a few more weeks. As always, there is photographic evidence of progress –

4 Responses to Do your dirty work

  1. Marlow says:

    Saw Danielle this morning in Durham. I told her that today and tomorrow are the only weekend in March I’m working. I want to see the crew at Circle Acres pronto. What ya’ll got going on this month?

  2. Trace says:

    Just so you know, you will be assigned a hammer or crowbar when you arrive.

  3. Emma says:

    The 1928 on that demo’d board…When the house was built? Cool find.

  4. Trace says:

    It was probably from one of the first additions to the main house (there were three total additions – bathroom, kitchen, living room. We currently live in the living room.

Delicious

villagize

Villagize

I am not sure that “villagize” is an actual word, but I am going to use it anyway. I don’t know of another way to describe what has been happening out at Circle Acres over the last few months. New people are coming out with the intention of staying for awhile and establishing themselves.

This is all a bit of good and a bit of bad, with it mostly being pretty exciting.  The bad is that our infrastructure is lacking in some key areas, mainly water access and possibly heated living space. For the most part, the people coming out are pretty resilient and not too terribly bothered by much. Which is good, because an upcoming house project will need resilient folks…


DeliciousEmailFacebookShare

About Trace

Trace lives in Durham, NC with his partner Kristin. They were joined by baby Tennessee Lynn in April 2012.
Trace is not a talker. Trace also thinks it is a little weird to talk about himself in the third person.

This entry was posted in biographical, circle acres, house. Bookmark the permalink.

Comments are closed.

wood stove season

Wood stove season

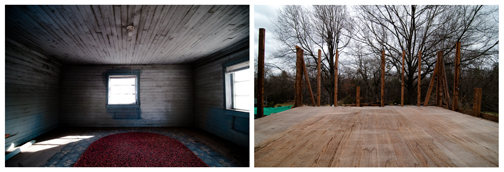
A small wood stove is our heat source for our horribly cold room.  There are drafts, holes and absolutely no insulation.  It is drywall, studs and then exterior brick.  Nothing to hold the heat in or keep the cold out.  One of the windows is broken with plastic taped over the holes.  Oh, and the ceiling is open to the rafters…

Last Winter was our first season in the room and our first time using wood heat.  We learned a lot in the process:

  • We cut wood as we needed it instead of stockpiling.  This led to some shortages and some work in the dark as we scrambled for a night’s worth of wood.
  • We didn’t have a damper in the stove pipe.  This led to most of the heat going up and out the chimney.  It also meant that we had to feed the fire every three hours.  I guess it was like having a newborn baby but with way more cussing and shivering.
  • We didn’t have electricity run, so we didn’t have an overhead fan.  Heat went up and up and out.

So we fixed some things, and we are in a little different place this year.  First, we have a ceiling fan wired up.  It keeps the hot air down at our level and helps with heat distribution.

Second, I put a damper in the stove pipe.  This closes off the stove from the chimney, allowing the wood to burn longer  in the stove.  Since the stove is pretty old, it is not airtight.  Without the damper air is sucked through the openings in the stove, making the fire burn hotter and shorter.

Third, we started cutting and splitting wood when it warmer outside and not needed for burning.

Last night we fired up the stove for the first time this season.  We went through eight pieces of wood from six in the evening until morning, much less than our average last year and with no need to load it after we went to bed.  The fire kept the room very toasty all night long.  It was so warm that I slept on top of my sleeping bag.  Kristin felt is was uncomfortably hot under her covers.  This tells me that we might have figured out the formula to keep warm this year.

This entry was posted in circle acres, house. Bookmark the permalink.

One Response to Wood stove season

  1. Patti says:

    I live in an urban house – we have an oil furnace, but I mostly use my airtight woodstove fireplace insert. I buy “energy logs” by the pallet (kind of like big presto logs with no additives, made from wood processing waste sawdust), stored in my basement, and trade homemade pickles and cookies for woodscraps from local millwork/cabinet guys. I love the kind of involvement the fire demands, the figuring out part, finding the balance of air flow and types of wood – turning up the heat means throwing in some soft wood scraps, cedar is the best when you can find it, and makes a wonderful crackling sound and miniature fireworks.

    I love reading your blog. I need to live in the city, but your writing wakes up that ache for the country.

Shopping Basket